How to Fix 403 Forbidden Error with IndexNow?
Did you encounter a 403 Forbidden error while trying to access the IndexNow key location?
No need to be alarmed!
Keep reading to learn more about:
- what might be causing the 403 Forbidden error;
- what you can do about it so that you can index your website with IndexNow.
Don’t worry, it’s an easy fix, so let’s get to it!
403 Forbidden Error when Trying to Access IndexNow: Possible Reasons
The 403 Forbidden error can be caused by several reasons, but the most common is that the API key file has not been generated automatically. This issue might arise from a plugin conflict.
Lucky, resolving the 403 Forbidden error with IndexNow is straightforward and can be done by completing just a few steps.
Here’s how:
Fix the 403 Forbidden Error by Changing the API Key in Squirrly SEO
To submit URLs to the IndexNow API, you must “prove” ownership of the site for which URLs are being submitted. This requires an API key. Squirrly automatically generates an API key for your website and dynamically hosts it on your website.
Once generated, the IndexNow API Key will be displayed in the IndexNow Key field.
To change the API Key in Squirrly SEO:
- Go to: Squirrly SEO > IndexNow > Settings > IndexNow Key. Then click on the “Reset Key” button shown below. Squirrly will then generate a new API Key for your site instantly.

Once you’ve completed this step, clear the cache and make sure that your API key is accessible to search engines. For this:
- Go to: Squirrly SEO > IndexNow > Settings > IndexNow Key URL
- Click on the yellow “Check Key” button shown in the screenshot below

Clicking on the Check Key button will open a new tab.
If the new tab displays your API key, you’re all set!
You can rest assured knowing that search engines will have access to the API key to verify ownership (assuming that access to this page is not restricted via robots.txt).

What if Changing the API key from within Squirrly SEO Doesn’t Work?
In case changing the API key from within Squirrly doesn’t work for you, there’s another quick solution that’ll fix the 403 Forbidden Error.
The solution is to: manually add the text file containing the API key to the root of your website. Here’s how to do it:
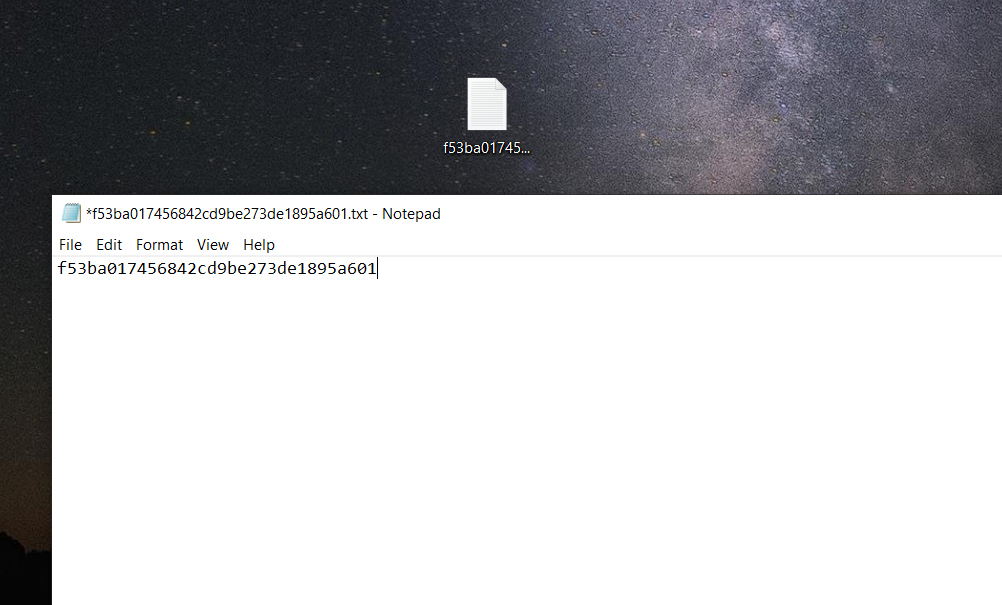
1. Create a text file. The name of your text file should be: [your_api_key].txt. It’s very important that your file name contains your API key.
2. Next, add the API key to the text file. DO NOT include anything else in the file, such as additional characters, symbols or spaces.
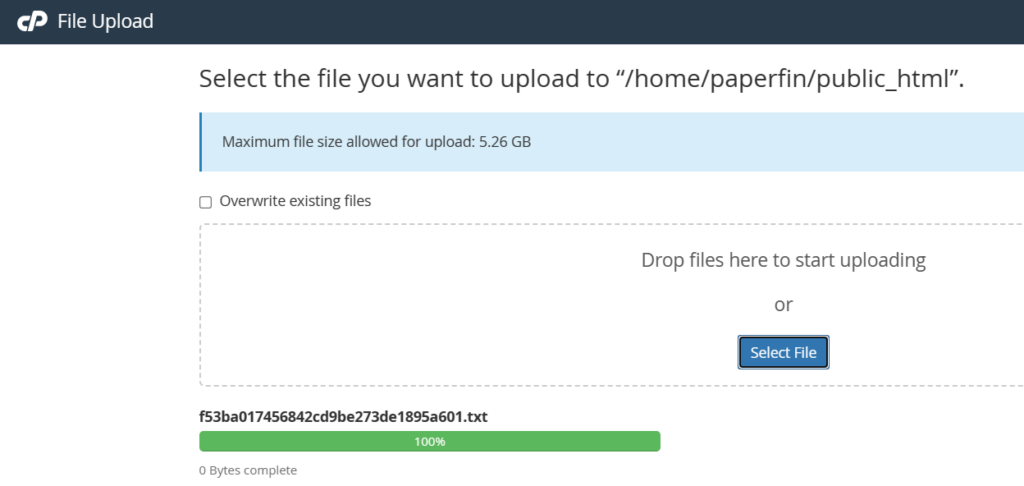
3. Finally, upload the text file to the root of your website. For this, you can use an FTP client or cPanel’s File Manager.
In order to log onto a server using FTP, you first need to gather the necessary information:
- the FTP credentials (username and password),
- the address of the FTP server,
- and the document root director.
Once you’ve collected the necessary information, you will be able to connect to your server using an FTP client such as WinSCP (download WinSCP for free here).
Make sure that all your information is entered correctly. Then press the “Login” button to connect to your server.

Once you’ve completed this step, you can upload the text file which contains your API key. To do this:
- open the local folder on your computer, where the text file containing the API key was saved.
- open the remote site folder (the folder on your server where your site is located). Usually, it’s the “public_html” folder.

Making sure that both the local and the remote folders are open, select the text file and click on the Upload button to upload the .
The file will begin uploading right away, and once you see it in the remote site folder, you’re all done!
By following these steps, you will be able to access the IndexNow API key from its location and search engines will be able to crawl the key file to verify site ownership.
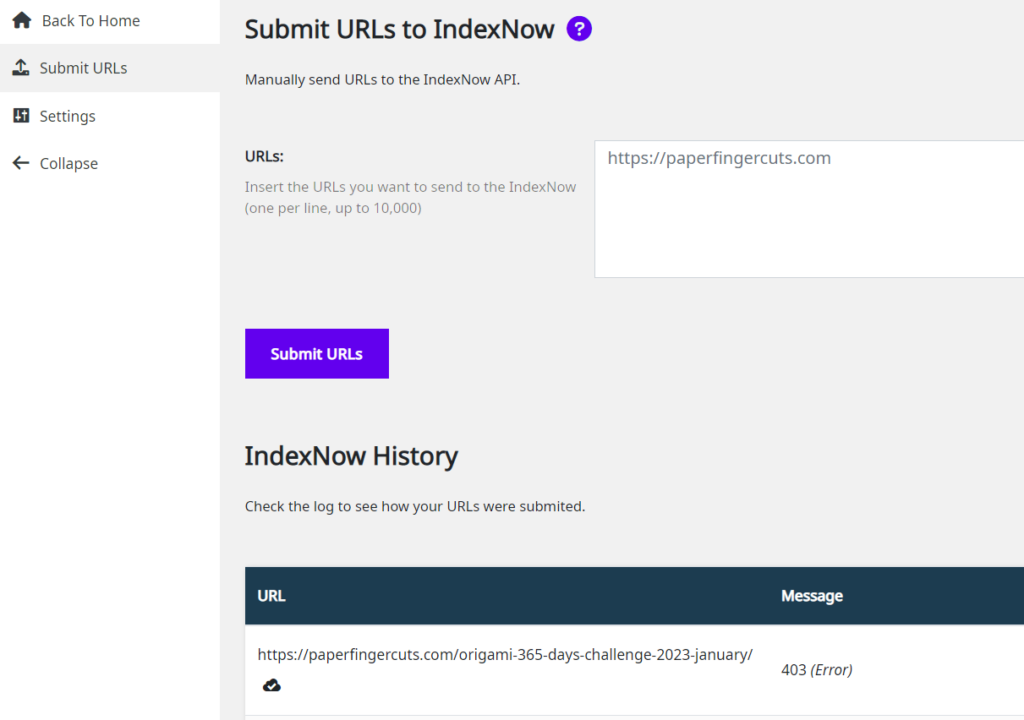
Check that your URLs are being sent to the IndexNow API in IndexNow History
To access the IndexNow History section, go to: Squirrly SEO > IndexNow > Submit URLs
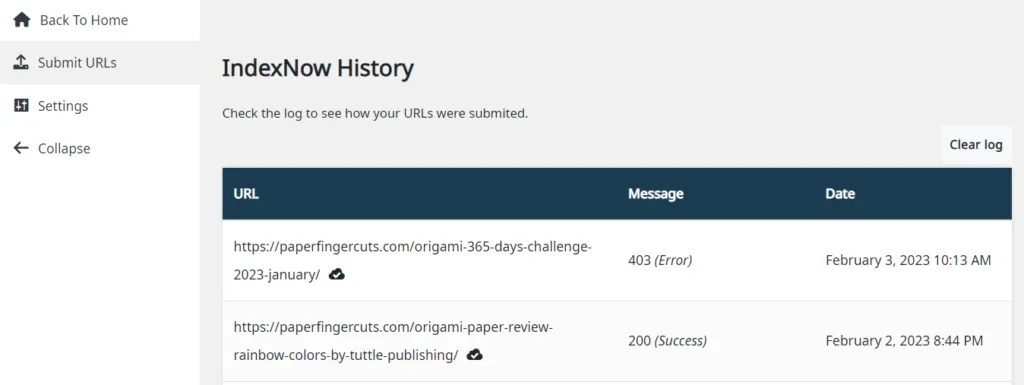
With IndexNow History, we’ve made it extremely easy for you to check that your URLs are being sent to the IndexNow API so that they can be promptly indexed.
In the IndexNow History section, Squirrly SEO displays a list of the most recent URLs that have been submitted to the IndexNow API, as well as the response code associated to each submission.
Here is the full list of response codes and what each one of them means:
| HTTP CODE | RESPONSE CODE | DESCRIPTION |
| 200 | Success | The URL has been successfully submitted to the IndexNow API. |
| 202 | Accepted | The IndexNow API received your URL. However, it still needs to validate the API key to confirm the URL belongs to your site. |
| 400 | Bad Request | The URL was not properly formatted. |
| 403 | Forbidden | The IndexNow API did not find your API key and cannot confirm the URL belongs to your site. |
| 422 | Unprocessable Entity | The URL belongs to another site and cannot be processed. |
| 429 | Too Many Requests | The IndexNow API received too many requests beyond the permitted quota of 10,000 requests per HTTP POST. |
👋RELATED READING: Configure Automatic URL Submission using IndexNow >>