First Steps to Setup the Squirrly SEO Plugin

If Squirrly SEO is the first SEO plugin you installed on your website, you can follow this short tutorial to make sure you’ve completed the main settings for your website.
This tutorial is also helpful if you are a NON-SEO expert and have set Squirrly on auto-pilot.
Once you finish this setup, you can focus on completing the tasks from the Next SEO Goals section; this will help you discover more features from Squirrly, step-by-step.
NOTE! If you already have an SEO plugin installed, you can easily import the Settings and SEO from the other SEO plugin using Squirrly’s import feature – and then complete the setup with the missing data.
1. Social Media Settings
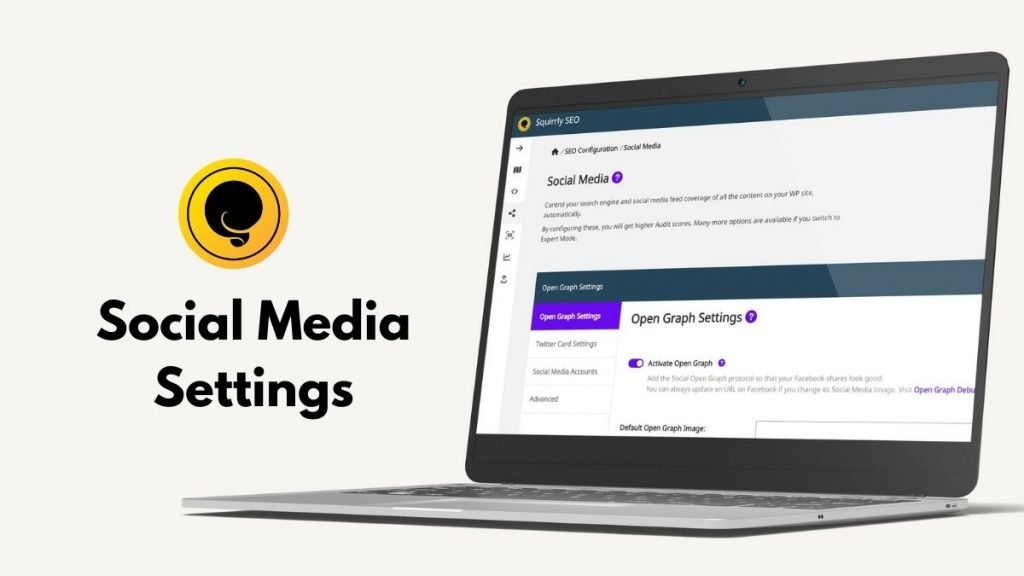
Go to Squirrly > SEO Configuration > Social Media > Social Media Accounts and add your social media accounts.
Note that it is NOT mandatory to have an account for all the social networks we list in this section. However, building a social media presence across multiple channels is a good way to show Google that your website is “alive” and active.
Facebook Open Graph – this is active by default.
Select the Facebook Language to help Facebook suggest the correct translation when someone shares your posts on Social Media.
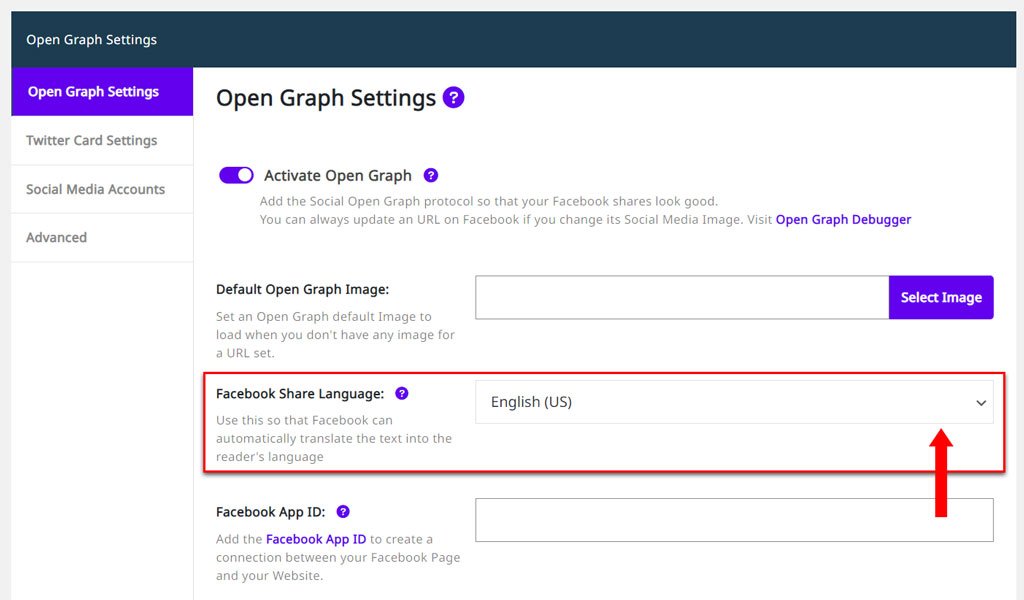
(Optional) If you are the admin of the Facebook Business page, add the profile URL to the Facebook Admin ID field so that Squirrly can extract the ID from it. This way, you will connect your profile with the website to validate the website moderator.
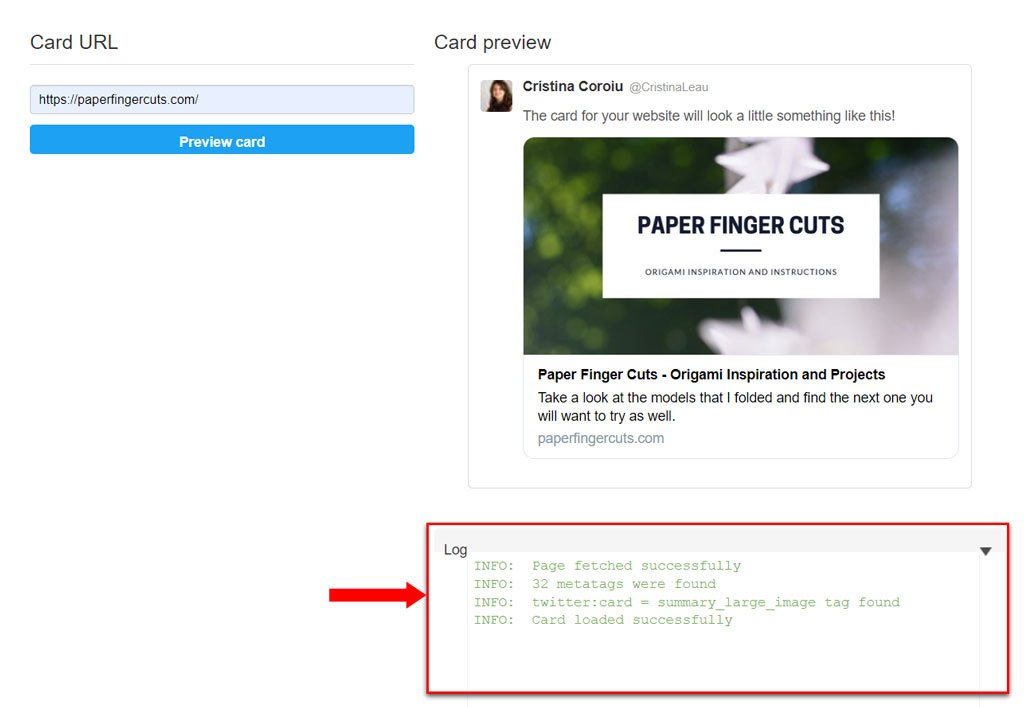
Twitter Card – this is active by default.
Validate the websites on Twitter to load the Twitter Card snippet on Twitter when someone shares your posts.
2. Connect Tools Settings
In case you don’t use a different plugin to track your website traffic with Google Analytics and Facebook Pixel, you can set up Squirrly SEO to track your website visitors.
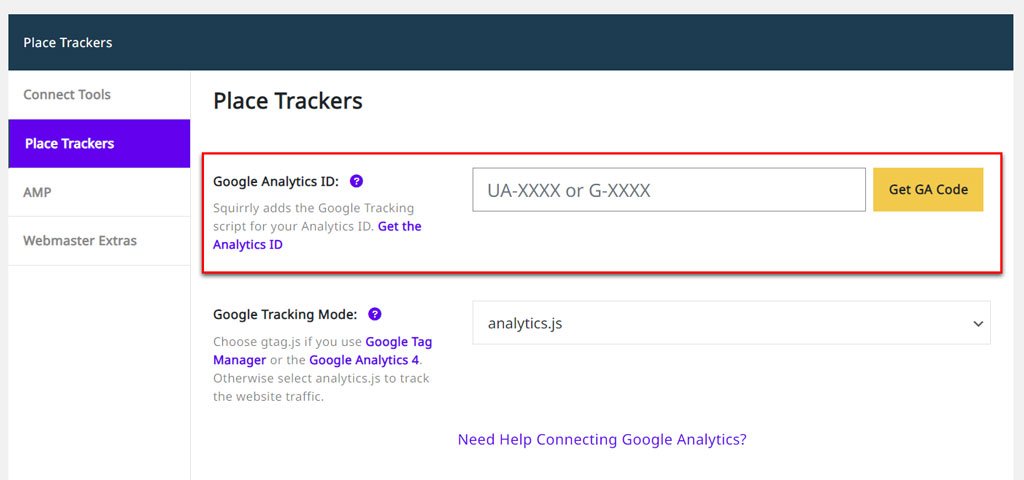
Go to Squirrly > SEO Configuration > Connect Tools > Place Trackers

Click to sign in to Google Analytics and get the GA code for your website.
- The standard tracking code should look like this: UA-xxxxxxxx
- The Google Analytics 4 tracking code should look like this: G-xxxxxxxx
If you already know the tracking code, you can also add this manually.
If you don’t have a Google Search Console account yet, please create one, and add your website to it.
If you do have a Google Search Console (GSC) account, go to Squirrly SEO > SEO Configuration> Connect Tools, connect the GSC account with the Squirrly SEO plugin and then get the GSC code. (full instructions on how to do this are available here)
3. Webmasters Extras
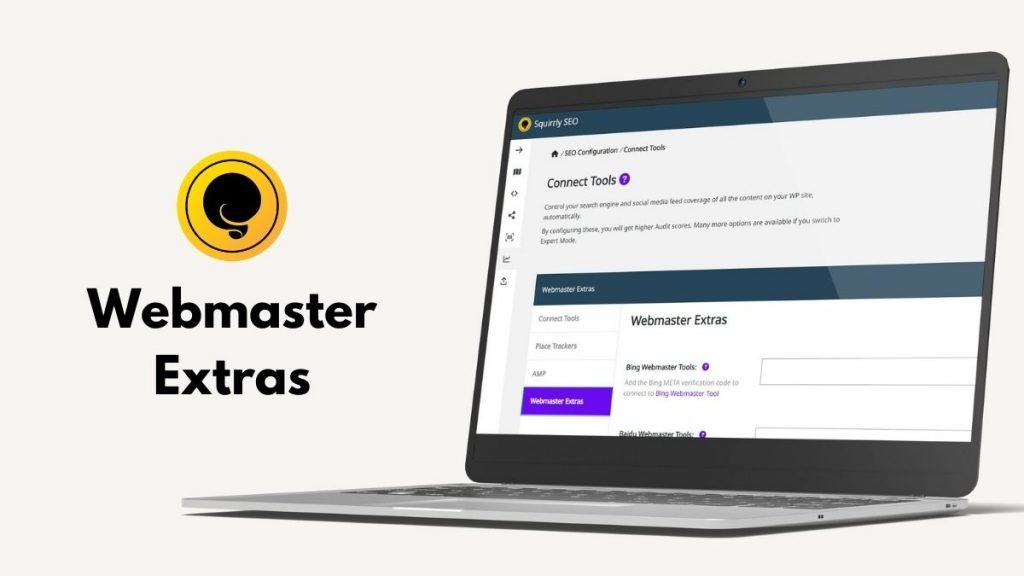
If you have other Webmasters such as Bing, Yandex, Baidu, you can paste the verification code from each Webmaster into the Squirrly SEO plugin to validate the connection between your website and the Webmasters.
Go to: go to Squirrly SEO> SEO Configuration > Connect Tools > Webmaster Extras to enable these connections.
This NOT a must! Only set up the connections that are relevant for your site and strategy.
TIP: If you’re not sure whether you should set up a connection from the Webmaster Tools section or not, be sure to read this resource in full to get more details about each connection that can be enabled.
4. JSON-LD Schema Settings

Go to Squirrly > SEO Configuration > Rich Snippets
If you have a business website, select the Company option and add your Company’s name, logo, and a short description.

(Optional) If you have a Local Store or a Local Restaurant, add more details about your business in the Local SEO section.
5. Sitemap XML Settings
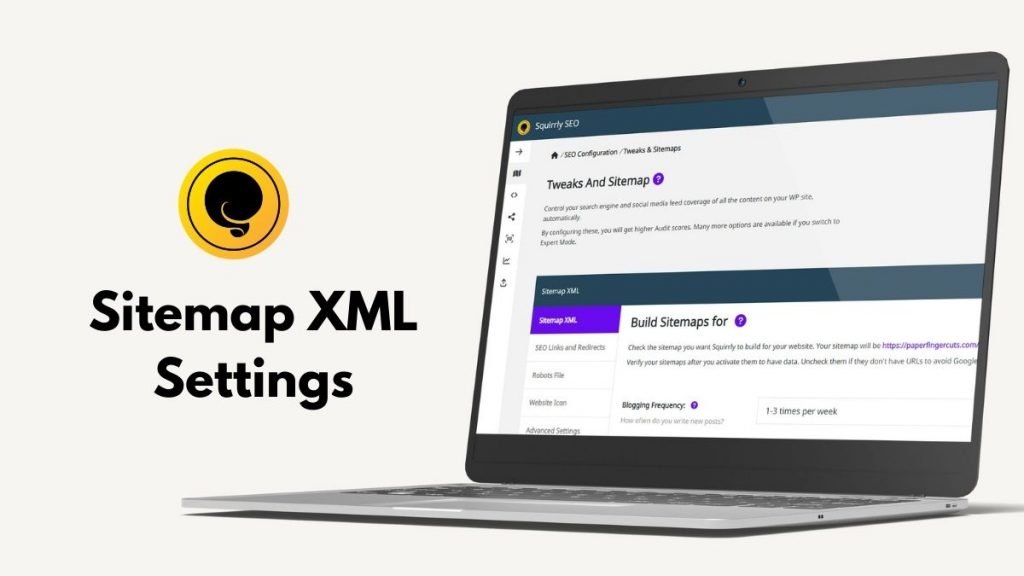
By default, the Sitemap XML option is active and includes the main post type.
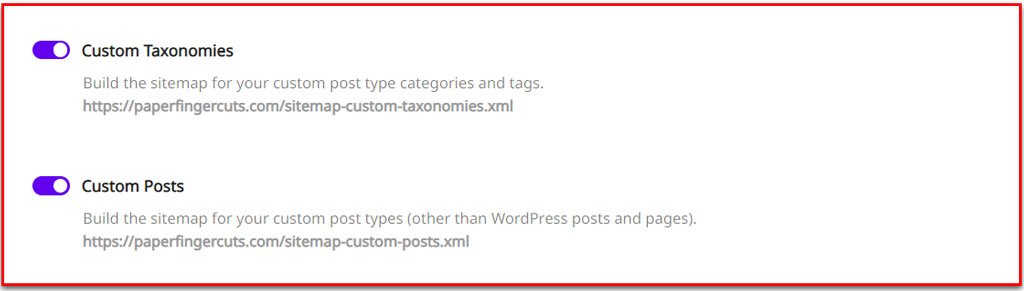
(Optional) If you have a custom post type on your website, activate the Custom Taxonomies and Custom Post Type Sitemap to load the sitemaps.
Once you finish setting up the Sitemap XML, be sure to also submit it to Google Search Console.
(Optional) If your website is a News website, activate the News Sitemap, and register your website to Google News.
You’ve Completed the First Steps. What Should You do Next?
Next Steps: Once you’re done with these settings, you can focus on completing the to-dos from Next SEO Goals.
This section brings you priority tasks that need solving and they are different from site to site; following the instructions to complete these tasks is an excellent way to discover more features from Squirrly, at the best time, and focus on the to-dos that will generate the highest impact.